Provisioning a node means creating one in the platform in your workspace. After provisioning, you can download configuration file with an authentication token—ready to then deploy the node.
When you start out with a new Tenzir account, you have an empty workspace without any nodes:
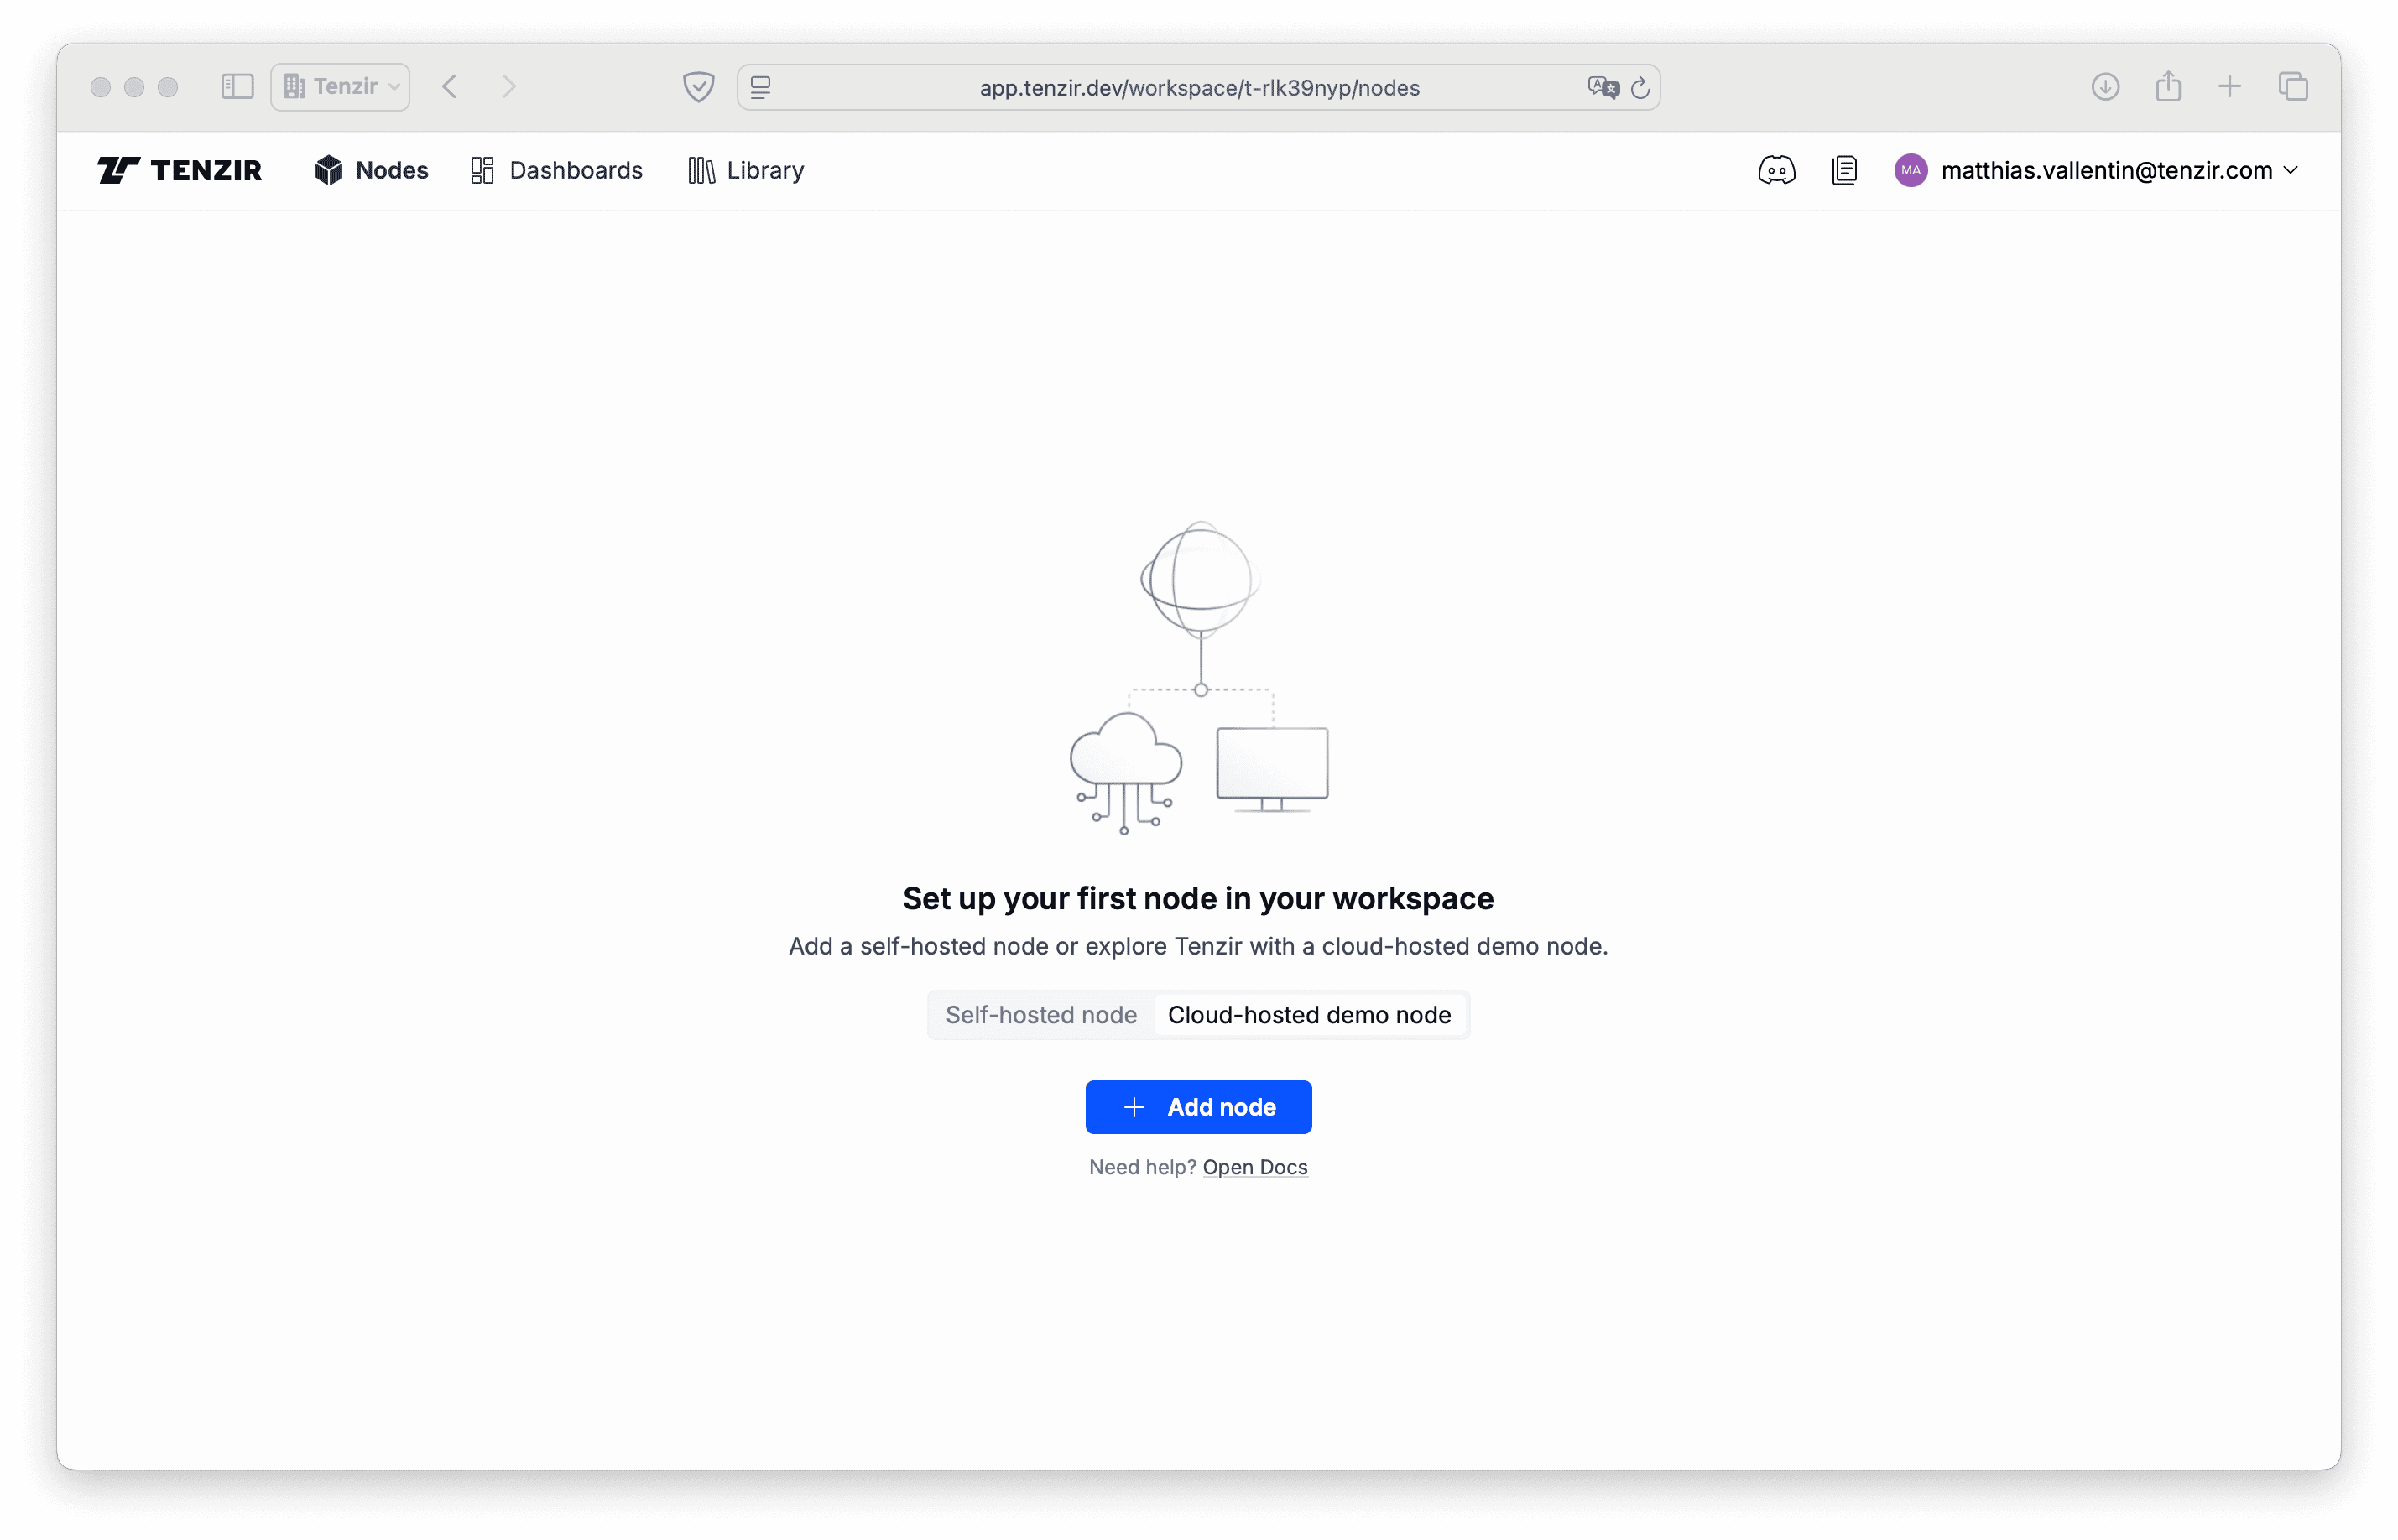
You have two options: either provision a self-hosted node or play with a cloud-hosted demo with a lifetime of 2 hours.
Cloud-hosted Demo Node
Section titled “Cloud-hosted Demo Node”Provision a cloud-hosted demo node by following these steps:
- Click Cloud-hosted demo-node.
- Click Add node.
- Click Get Started.
🙌 You’re good to go. It takes up to 2 minutes for your node to be usable. Upon provisioning, the documentation pops in automatically so that you can familiarize yourself with key concepts in the meantime.
Self-hosted Node
Section titled “Self-hosted Node”Provision a self-hosted node by following these steps:
- Click Self-hosted node.
- Click Add node.
- Enter a name for your node.
- Click Add node.
🚢 Your node is ready to be deployed. The easiest way to continue is by spinning up a node with Docker.